Create your dream wedding invites with our step-by-step guide to DIY Wedding Invitations. Learn how to add personal flair in just 10 easy steps.
Every bride dreams of creating a personal touch for her big day, and designing DIY wedding invitations is a perfect way to add that special flair. Crafting your invitations allows you to customize every detail while staying on budget.
Whether you want something elegant, rustic, or modern, we’ve got the 10 easy steps you need to follow for beautiful, do-it-yourself wedding invitations that will wow your guests, even before they reach your wedding venue.

Step 1: Choose a Theme for Your Invitations
Before starting, decide on the overall theme of your DIY wedding stationery. Is your wedding going to be vintage, boho, or minimalist? This will help guide the color scheme, fonts, and design elements for your custom wedding invitations.
For example, brides hosting a rustic barn wedding might choose earth tones and floral prints, while a black-tie event could call for sleek gold-foil accents and black-and-white designs.
Step 2: Gather Your Materials
Once you’ve settled on your design, gather all the materials you’ll need. This includes cardstock, envelopes, ribbon, and anything else you’d like to incorporate into your handmade wedding invites.
If you’re going for a luxurious look, consider using premium paper or embellishments like wax seals.
Step 3: Find or Create Wedding Invitation Templates
Now it’s time to select or design your wedding invitation templates. You can find hundreds of free printable wedding invitations DIY online, or use platforms like Canva or Adobe Spark to create your own from scratch.
Many websites offer customizable templates where you can plug in your details and tweak fonts, colors, and layouts to match your vision. If you’re new to design, start with a simple template and gradually customize it to reflect your style.
Step 4: Personalize the Details
It’s the little touches that make your DIY wedding invitations stand out. Incorporate personal details like a custom monogram, wedding date, or a unique quote that resonates with you as a couple.
Personalizing your wedding invitation design also makes it feel more intimate for your guests.
Step 5: Choose Fonts and Colors
Selecting the right fonts and colors is crucial to making your invitations visually appealing. Choose fonts that align with your wedding theme—modern sans-serif fonts for a contemporary wedding, or elegant script for a classic one. Make sure the text is easy to read and stands out against the background of your custom wedding invitation design.
Step 6: Print Your Invitations
Once your design is ready, it’s time to print your DIY wedding stationery. You can print them at home using high-quality ink and paper, or for a more professional finish, consider sending your designs to a local print shop.
Most brides find that printing at a shop offers better paper quality and ensures vibrant colors.
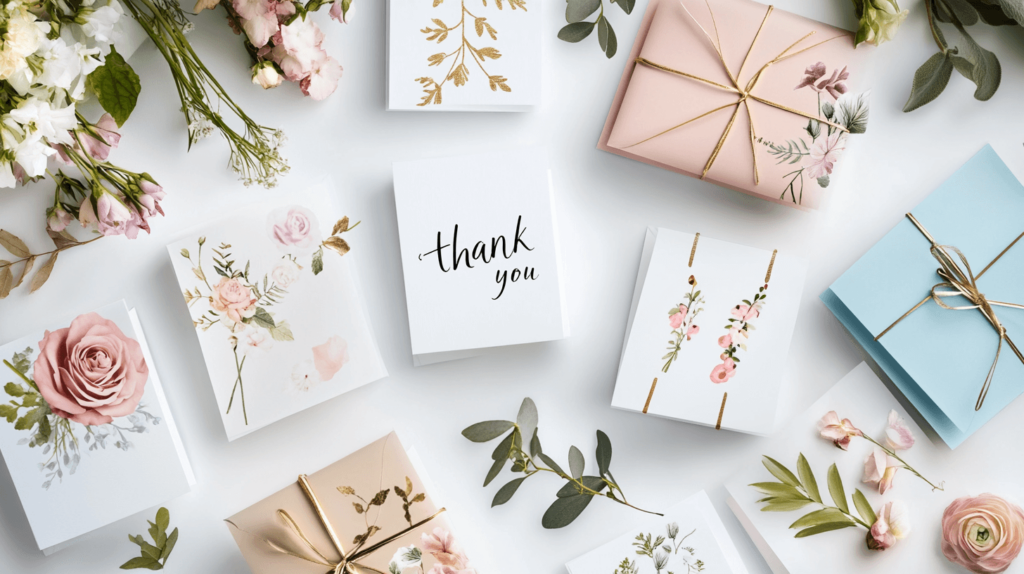
Step 7: Add Embellishments for Extra Flair
To give your handmade wedding invites that extra wow-factor, consider adding embellishments like satin ribbons, lace accents, or wax seals.
These small details can elevate your invitations and make them look high-end without the expensive price tag.
Step 8: Assemble and Stuff Envelopes
After printing and decorating, it’s time to assemble your invitations. Carefully fold or trim your invites (if needed) and stuff them into envelopes.
Don’t forget to add RSVP cards and any additional inserts, such as maps or accommodation details.
Step 9: Address Your Envelopes
Personalizing the envelope is just as important as the invitation itself.
Whether you choose to handwrite the addresses or use custom address labels, this final touch adds a sophisticated finish to your personalized wedding invites.
Step 10: Send Them Out with Confidence
The final step is mailing out your beautiful DIY wedding invitations!
Ensure you have the correct postage, especially if you’ve added any heavier embellishments, and consider hand-delivering a few to close family and friends for an extra personal touch.

Craft the Perfect DIY Wedding Invitations with Perfect For Weddings
Creating your DIY wedding invitations is a fun and cost-effective way to add a personal touch to your special day. With these 10 easy steps, you’ll design stunning, custom wedding invitations that reflect your style without breaking the bank.
Looking for chic, customizable wedding printables? Find them in our Free Wedding Printables toolkit—your perfect DIY solution awaits in the Planning Tools at Perfect For Weddings!